The biggest myth in home recording is that you need a room full of expensive gear before you can make anything good. You don't. A focused, modest setup has everything required to write, record, and release real music. Let's walk through what actually matters and, just as usefully, what you can safely skip for now.
Start With What You Probably Have#
The heart of any modern studio is a computer, and the one you already own is very likely enough to begin. Music software has grown efficient, and plenty of finished records were made on ordinary laptops. Before spending a cent, confirm your machine has a reasonable amount of memory and some free storage, then start there.
The software that runs your studio is called a DAW, short for digital audio workstation. It's where you record, arrange, edit, and mix. Several capable DAWs are free, and many paid ones include a limited free version that's more than enough to learn on. Some audio interfaces also bundle a DAW in the box.
Don't shop for gear before you've made anything. Spend your first month learning a free DAW. You'll discover what you actually need by bumping into its limits, not by reading spec sheets.
This matters because it's easy to mistake buying gear for making progress. The skills you build in your DAW transfer to any setup later, and they cost nothing but time.
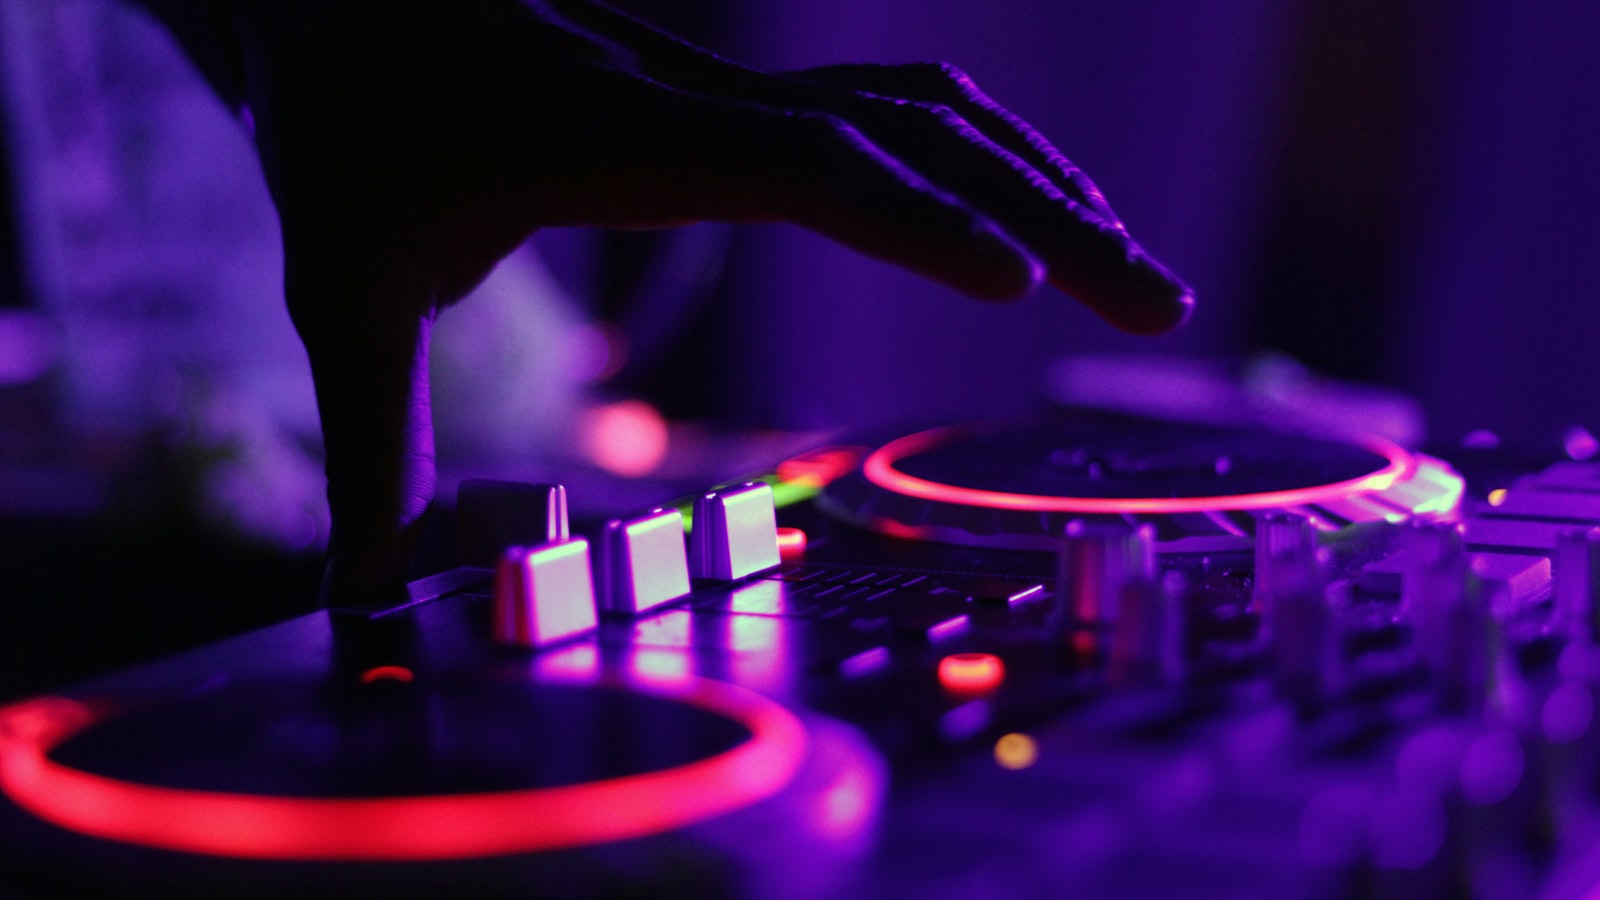
The Audio Interface#
If you want to record vocals or a real instrument, an audio interface is your first meaningful purchase. It's the box that connects microphones and instruments to your computer, converting their sound into something your DAW can record, and converting playback back out to your speakers and headphones.
For one person recording one thing at a time, a small interface with one or two inputs covers nearly everything you'll do for a long while. Look for one with a microphone input that supplies phantom power, which condenser mics require, and a headphone output. Entry-level interfaces from reputable brands sound clean and reliable; the jump in audio quality to expensive units is small and won't be your bottleneck as a beginner.
Connection type matters for convenience. Most interfaces connect over USB and work across operating systems. Check that yours has up-to-date drivers for your computer and you're set.
One spec worth understanding is latency, the small delay between making a sound and hearing it back through your computer. A good interface and its software keep this delay low enough that you can record and monitor in real time without it feeling off. If you ever notice an annoying lag while recording, your interface's control panel usually lets you reduce the buffer size to tighten it up. It's rarely a problem with modern gear, but knowing the term saves you confusion later.
The Microphone#
You don't need a collection of microphones. You need one that suits what you record most. There are two broad families worth knowing.
A condenser microphone is sensitive and detailed, which makes it a popular choice for vocals and acoustic instruments in a quiet, treated space. A dynamic microphone is tougher and less sensitive to room sound, which makes it forgiving in untreated rooms and great for loud sources. For a first mic in a typical bedroom, either can work, and a good dynamic mic is sometimes the smarter pick precisely because it ignores a messy room.
Whatever you choose, you'll also want a stand to hold it steady and a pop filter to soften the bursts of air from "p" and "b" sounds. These small accessories make a bigger difference to your recordings than upgrading to a pricier mic would.
It's worth resisting the pull of the famous, expensive microphones you see in professional studios. Those mics earn their keep in acoustically perfect rooms with skilled engineers behind them. In an untreated bedroom, their extra detail mostly captures the flaws of your space. A solid, affordable mic used well will serve you far better while you're learning, and you can always upgrade once your room and your skills have caught up.
The Gear That Actually Improves Your Sound#
Here's where beginners often spend backwards. They pour money into a fancy microphone while ignoring the things that would help far more. If your budget is limited, prioritize these:
- Room treatment. Soft, dense materials absorb the reflections that make recordings sound hollow and echoey. A few thick blankets, a heavy duvet, or some acoustic panels in the right spots improve every recording you make, no matter your mic.
- Closed-back headphones. A reliable pair lets you record without sound leaking into the mic and lets you edit quietly. They're often a better early buy than studio monitors, which only shine in a treated room.
- A microphone stand and pop filter. Cheap, unglamorous, and genuinely essential for clean, consistent takes.
Studio monitor speakers are wonderful, but they reveal a room's flaws as much as a recording's, so in an untreated space they can mislead you. Many people mix successfully on good headphones for a long time before adding monitors. There's no rush.
Spend on Problems, Not Specs#
Once you've got a computer with a DAW, an interface, one suitable mic with a stand and pop filter, some room treatment, and a pair of headphones, you have a complete studio. Everything beyond that should answer a specific need you've actually run into.
Found yourself wishing you could record a band live? That's when a multi-input interface earns its place. Recording loud, dynamic vocals that your current mic struggles with? That's a reason to consider a second mic. Let your real frustrations guide your spending, not marketing or the gear other producers show off online. A modest setup used constantly will always beat an expensive one used occasionally.
The truth is that limitation breeds creativity. Some of the most resourceful music gets made by people working within tight constraints, finding clever solutions because they have to. Your first studio doesn't need to be impressive. It needs to be ready.
So set up what you have, learn it deeply, and start finishing songs. The gear you eventually add will mean more once you've earned the knowledge to use it well, and you'll have a library of music to show for the time you spent making instead of shopping.